Composite Bike Storage
Overview
For my Design & Fabrication class, we did an independent project where we have to solve one of our existing problems. I had an issue of lack of storage on my bicycle so I decided to make some kind of storage box.
My criteria for this project was it has to be:
- aerodynamic
- lightweight
- water resistant
- cost less than $20 (market price)
Process
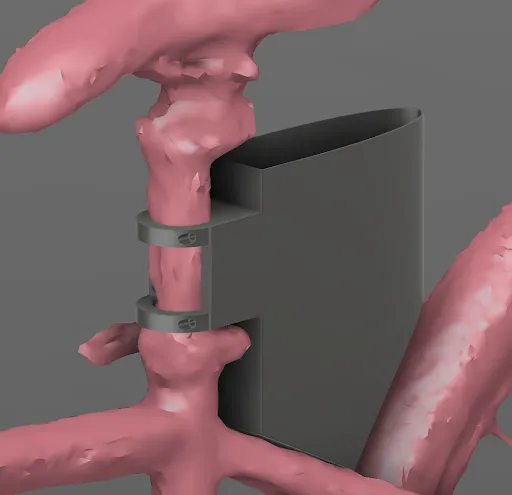
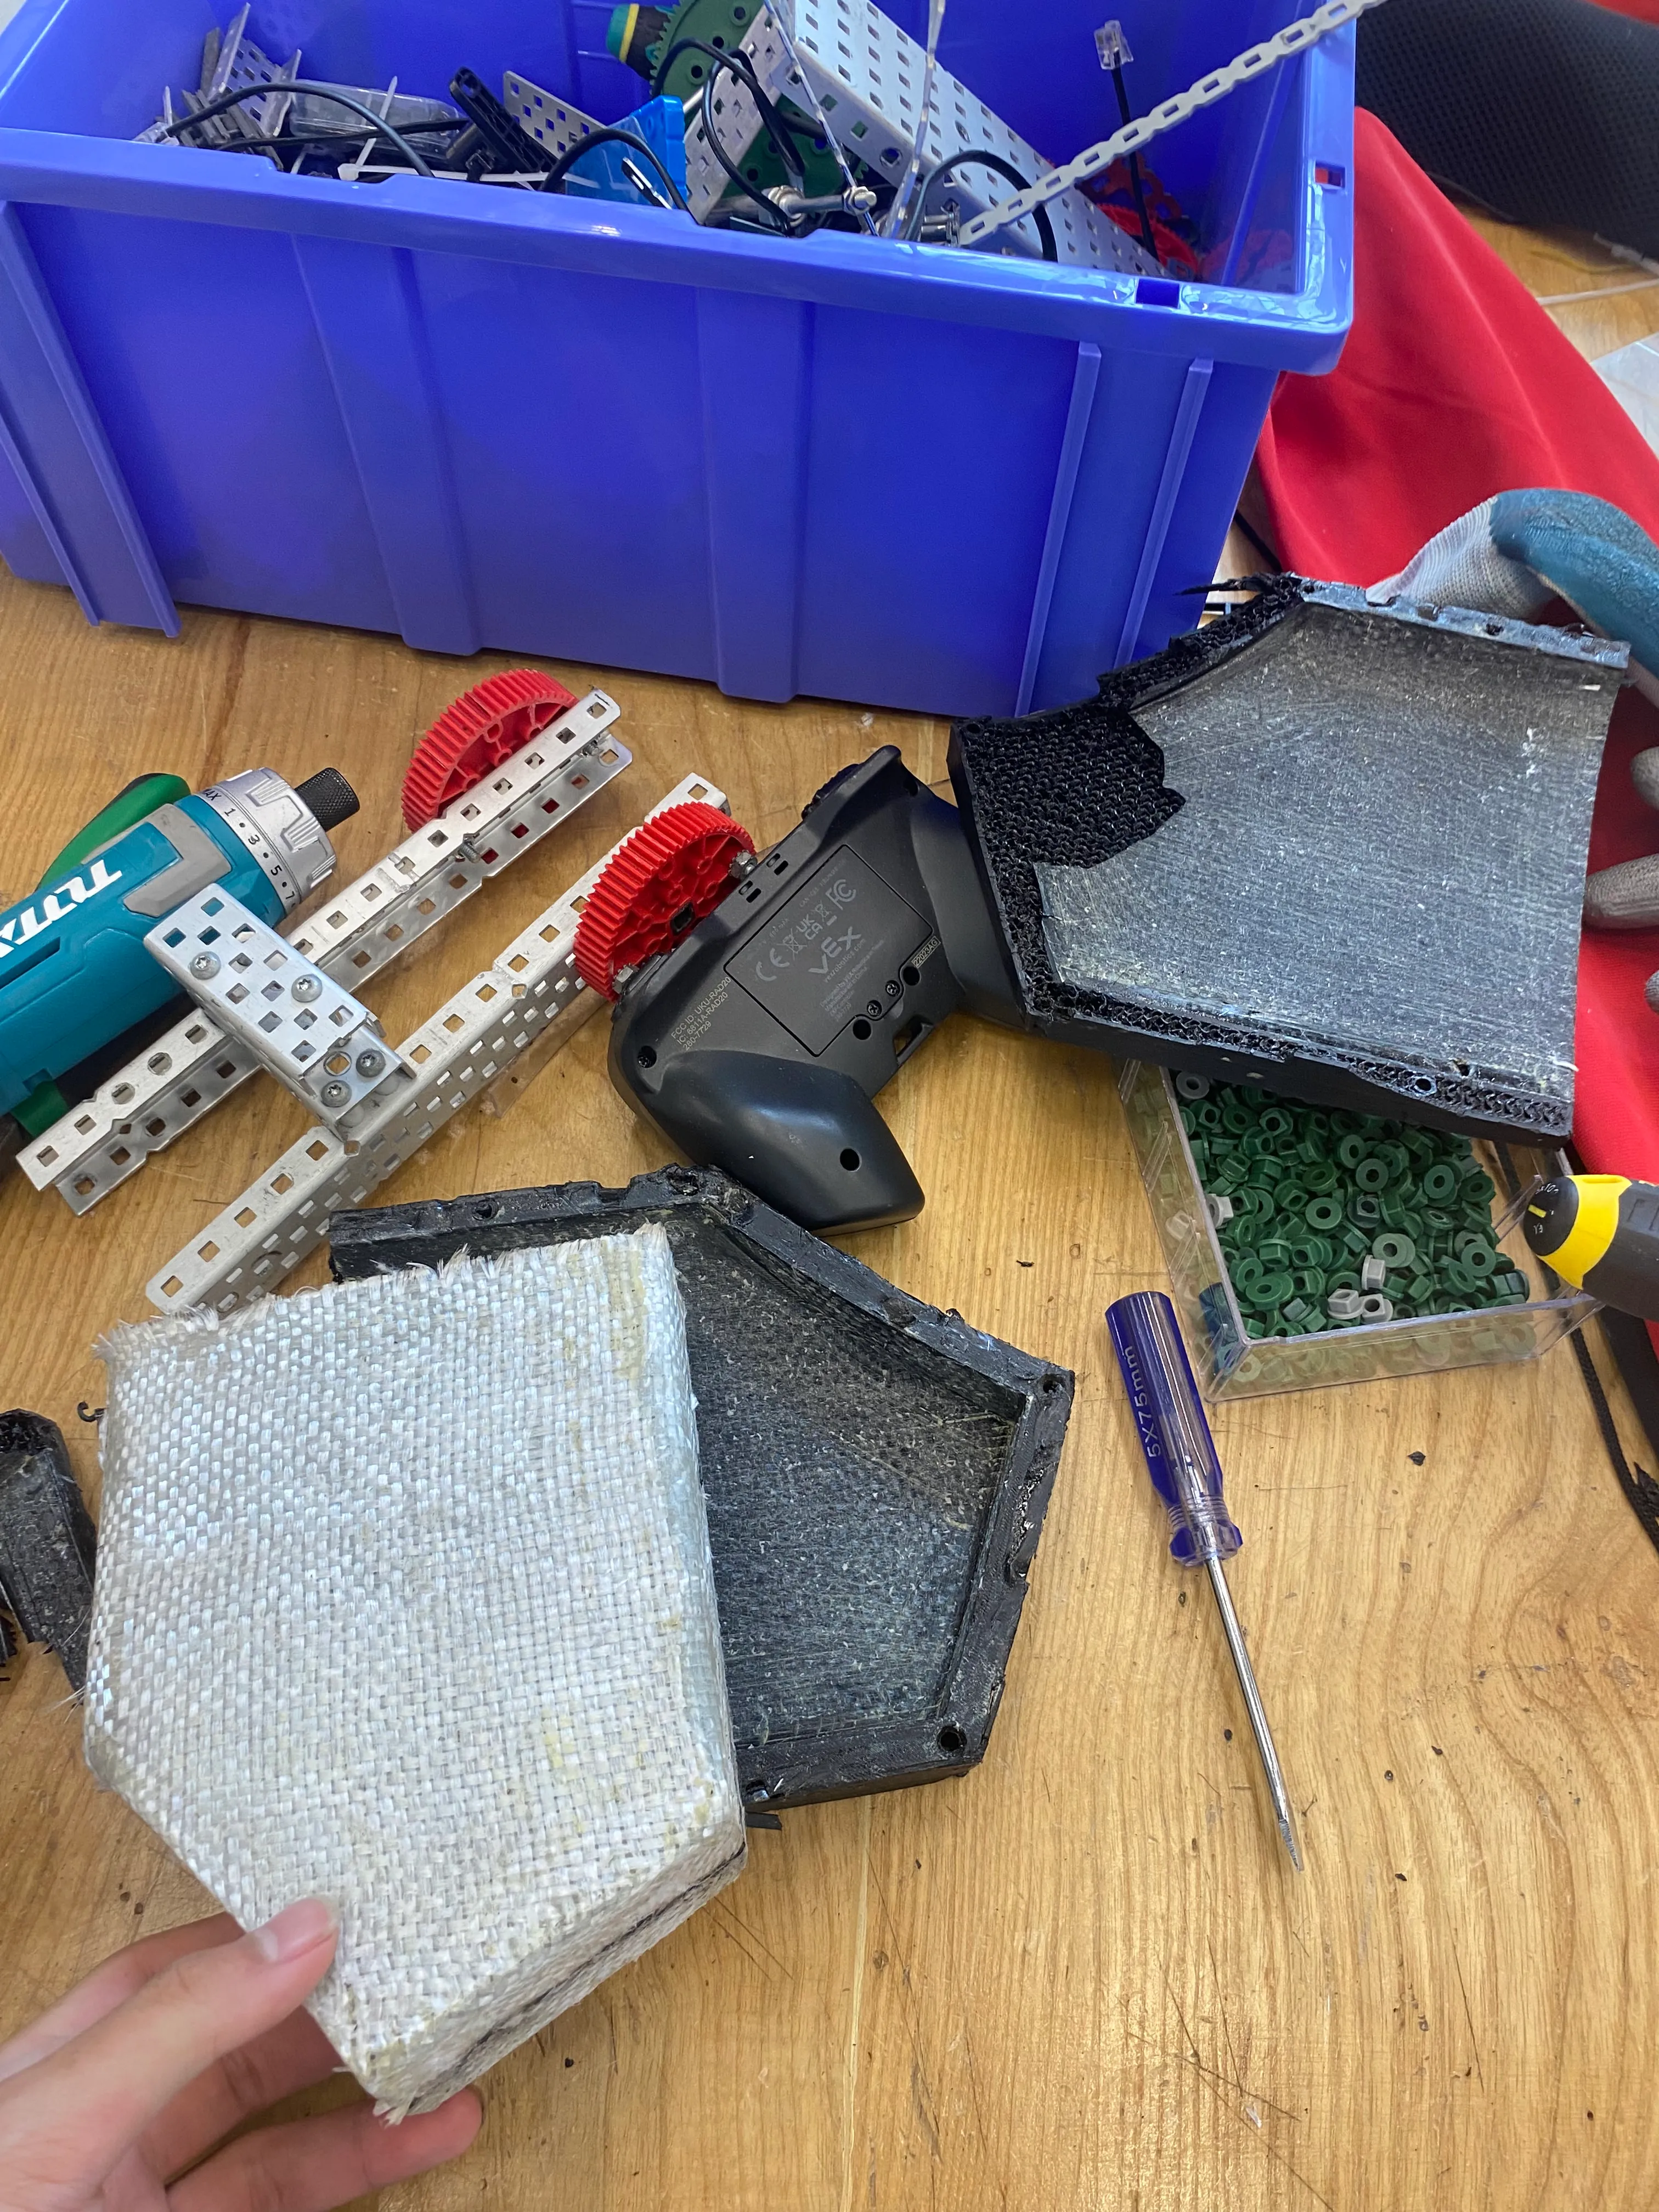
For my initial prototype, I used PolyCam to make a scan of my bike and I designed my box around that. To test out the dimensions, I 3d printed a test fit.
In order to make the box very light, I wanted to use composites as they have very high strength to weight ratio. My inspiration for this was race cars as many use carbon fiber although the twill alone costs more than my budget so this would not meet my criteria. I ended up choosing fiberglass which is weaker than carbon fiber but significantly cheaper.
I chose to do a wet-layup onto a split 3d printed mould using a guide by EasyComposites as it is relatively inexpensive to the other options and does not require an autoclave.
Since mould was 3d printed, it has layer lines which would leave imperfections onto the final product. So I filled the gaps using filler pull and wet sanded it until smooth. The mould was sprayed with mould release then 3 layers of fiberglass were placed onto each side of the mould, with one half having overhangs which will overlap the other half when closed. We need to apply constant pressure onto the fiberglass so it cures with minimal thickness. A layer of peel ply is placed on the inside of the mould then a layer of breather which allows air to travel across the mould. Then a vacuum bag (I used a clothing vacuum bag) is used with a vacuum pump.
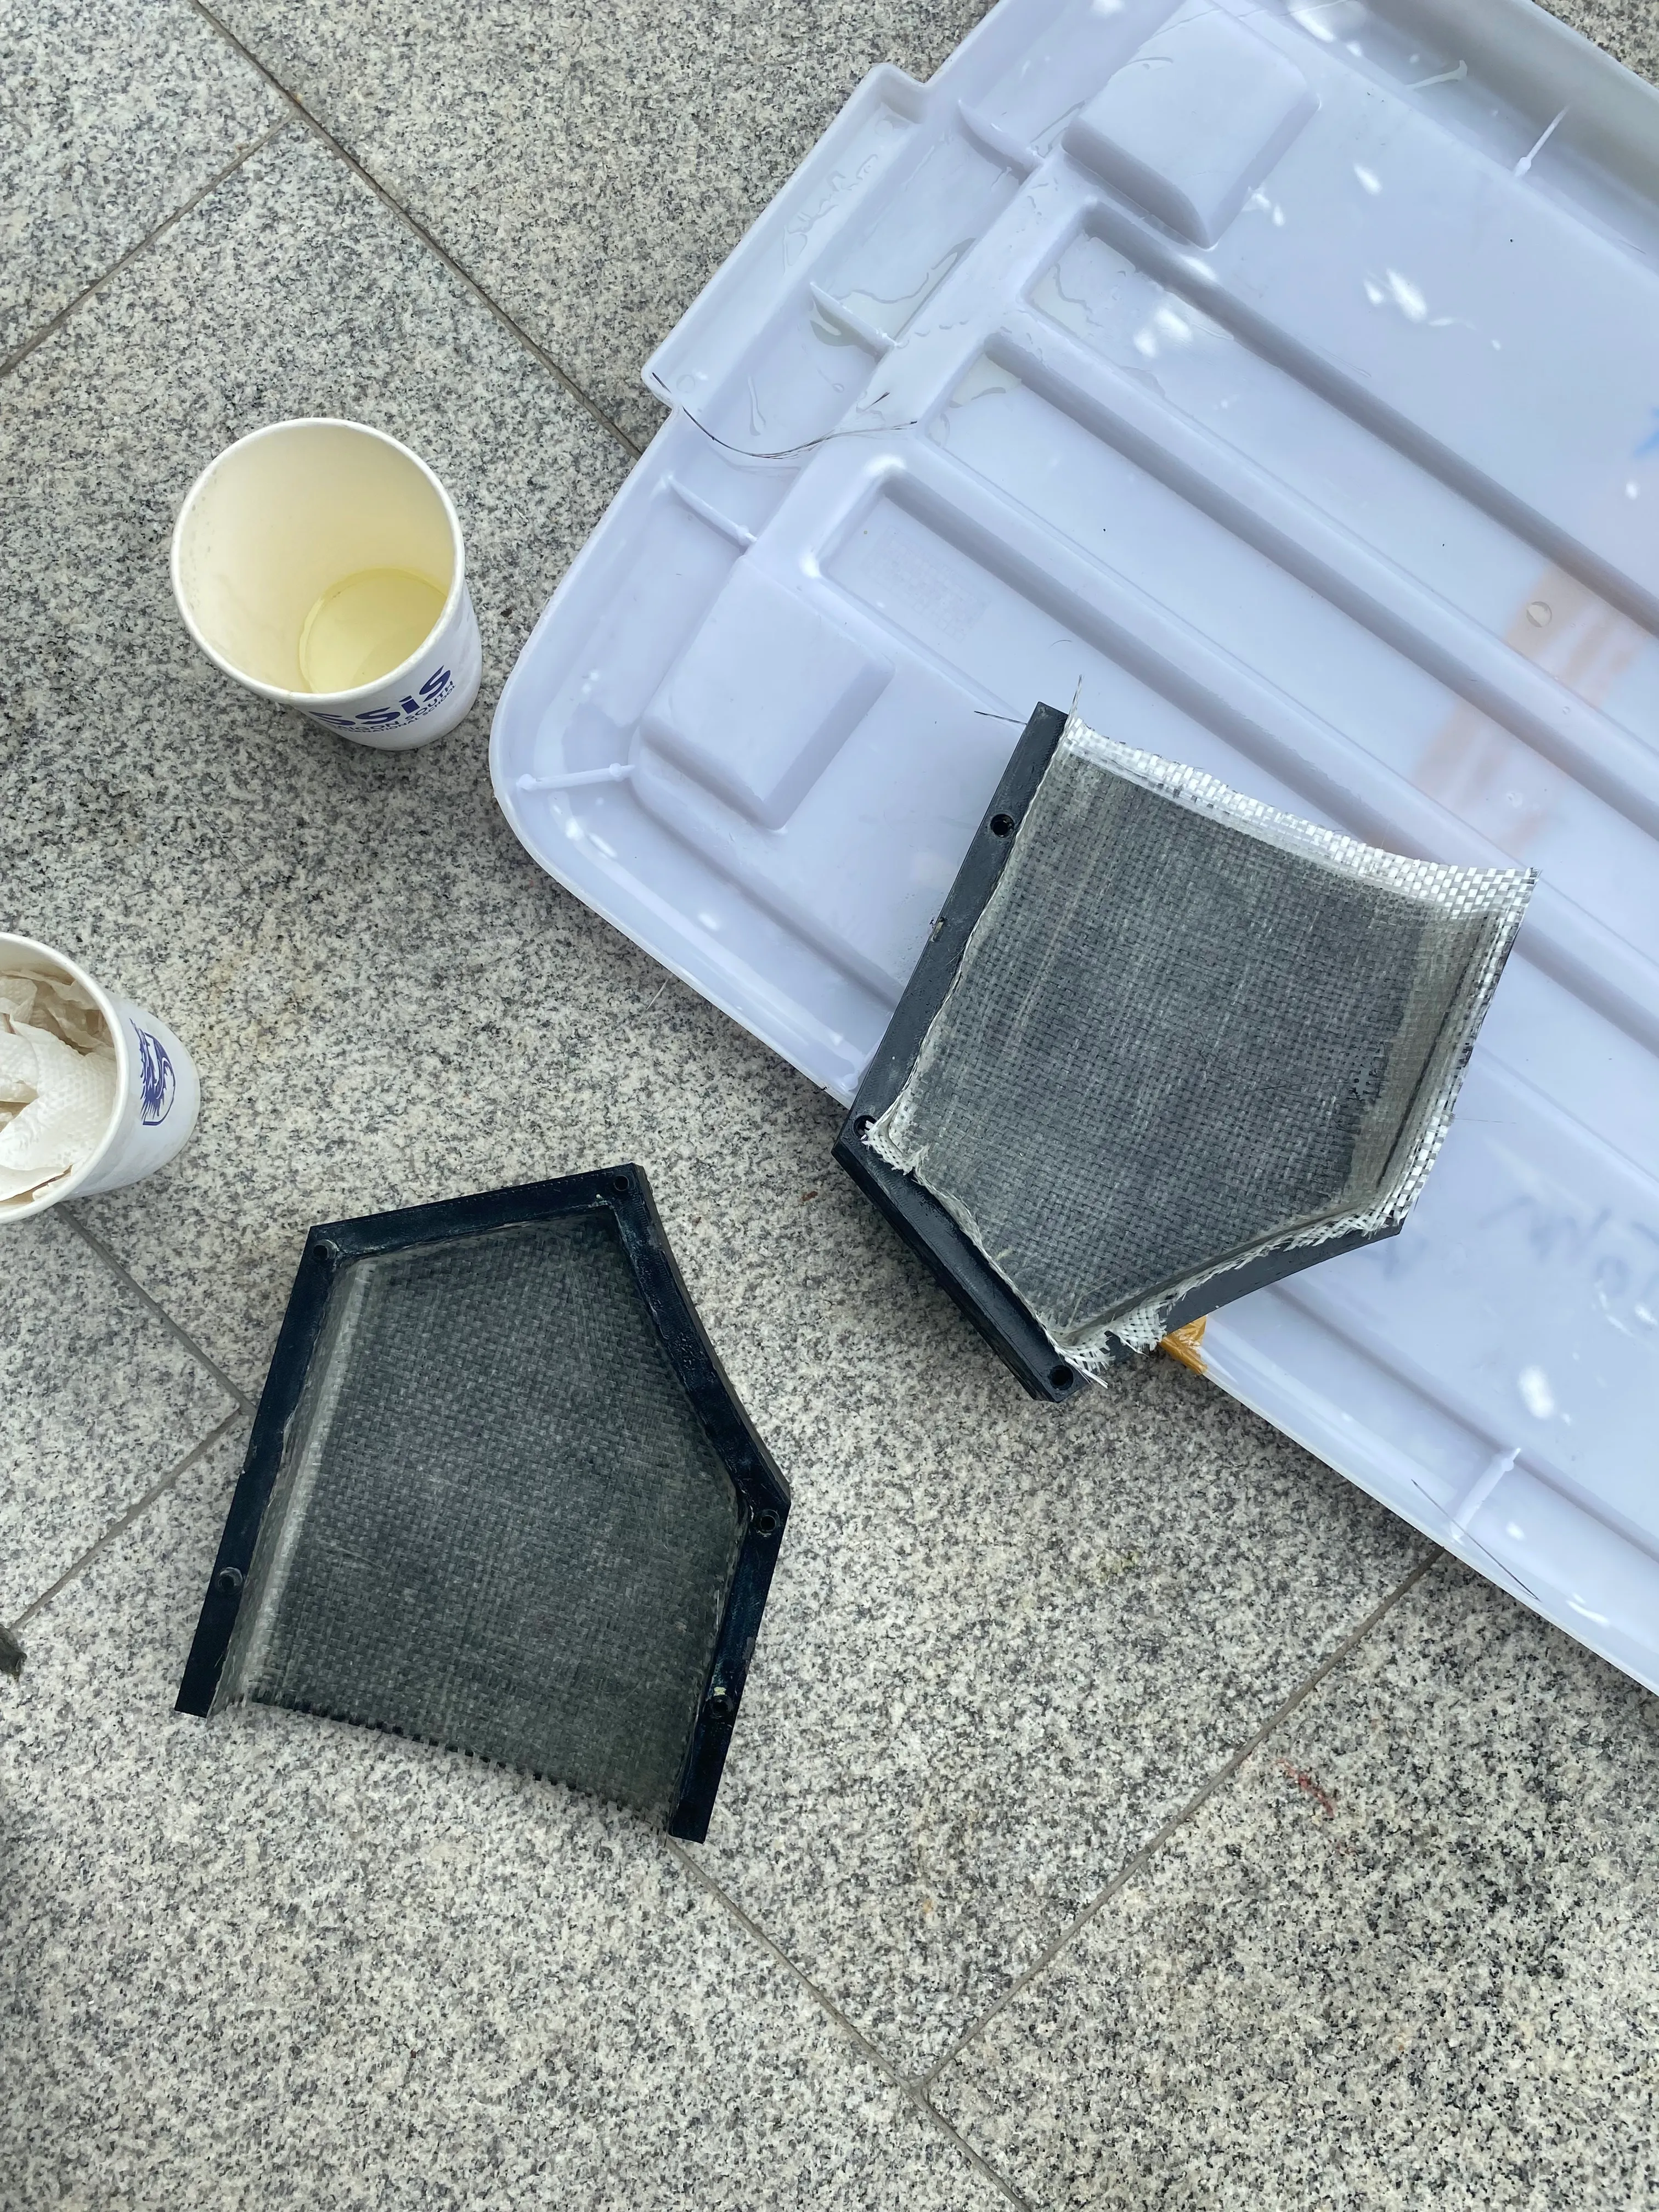
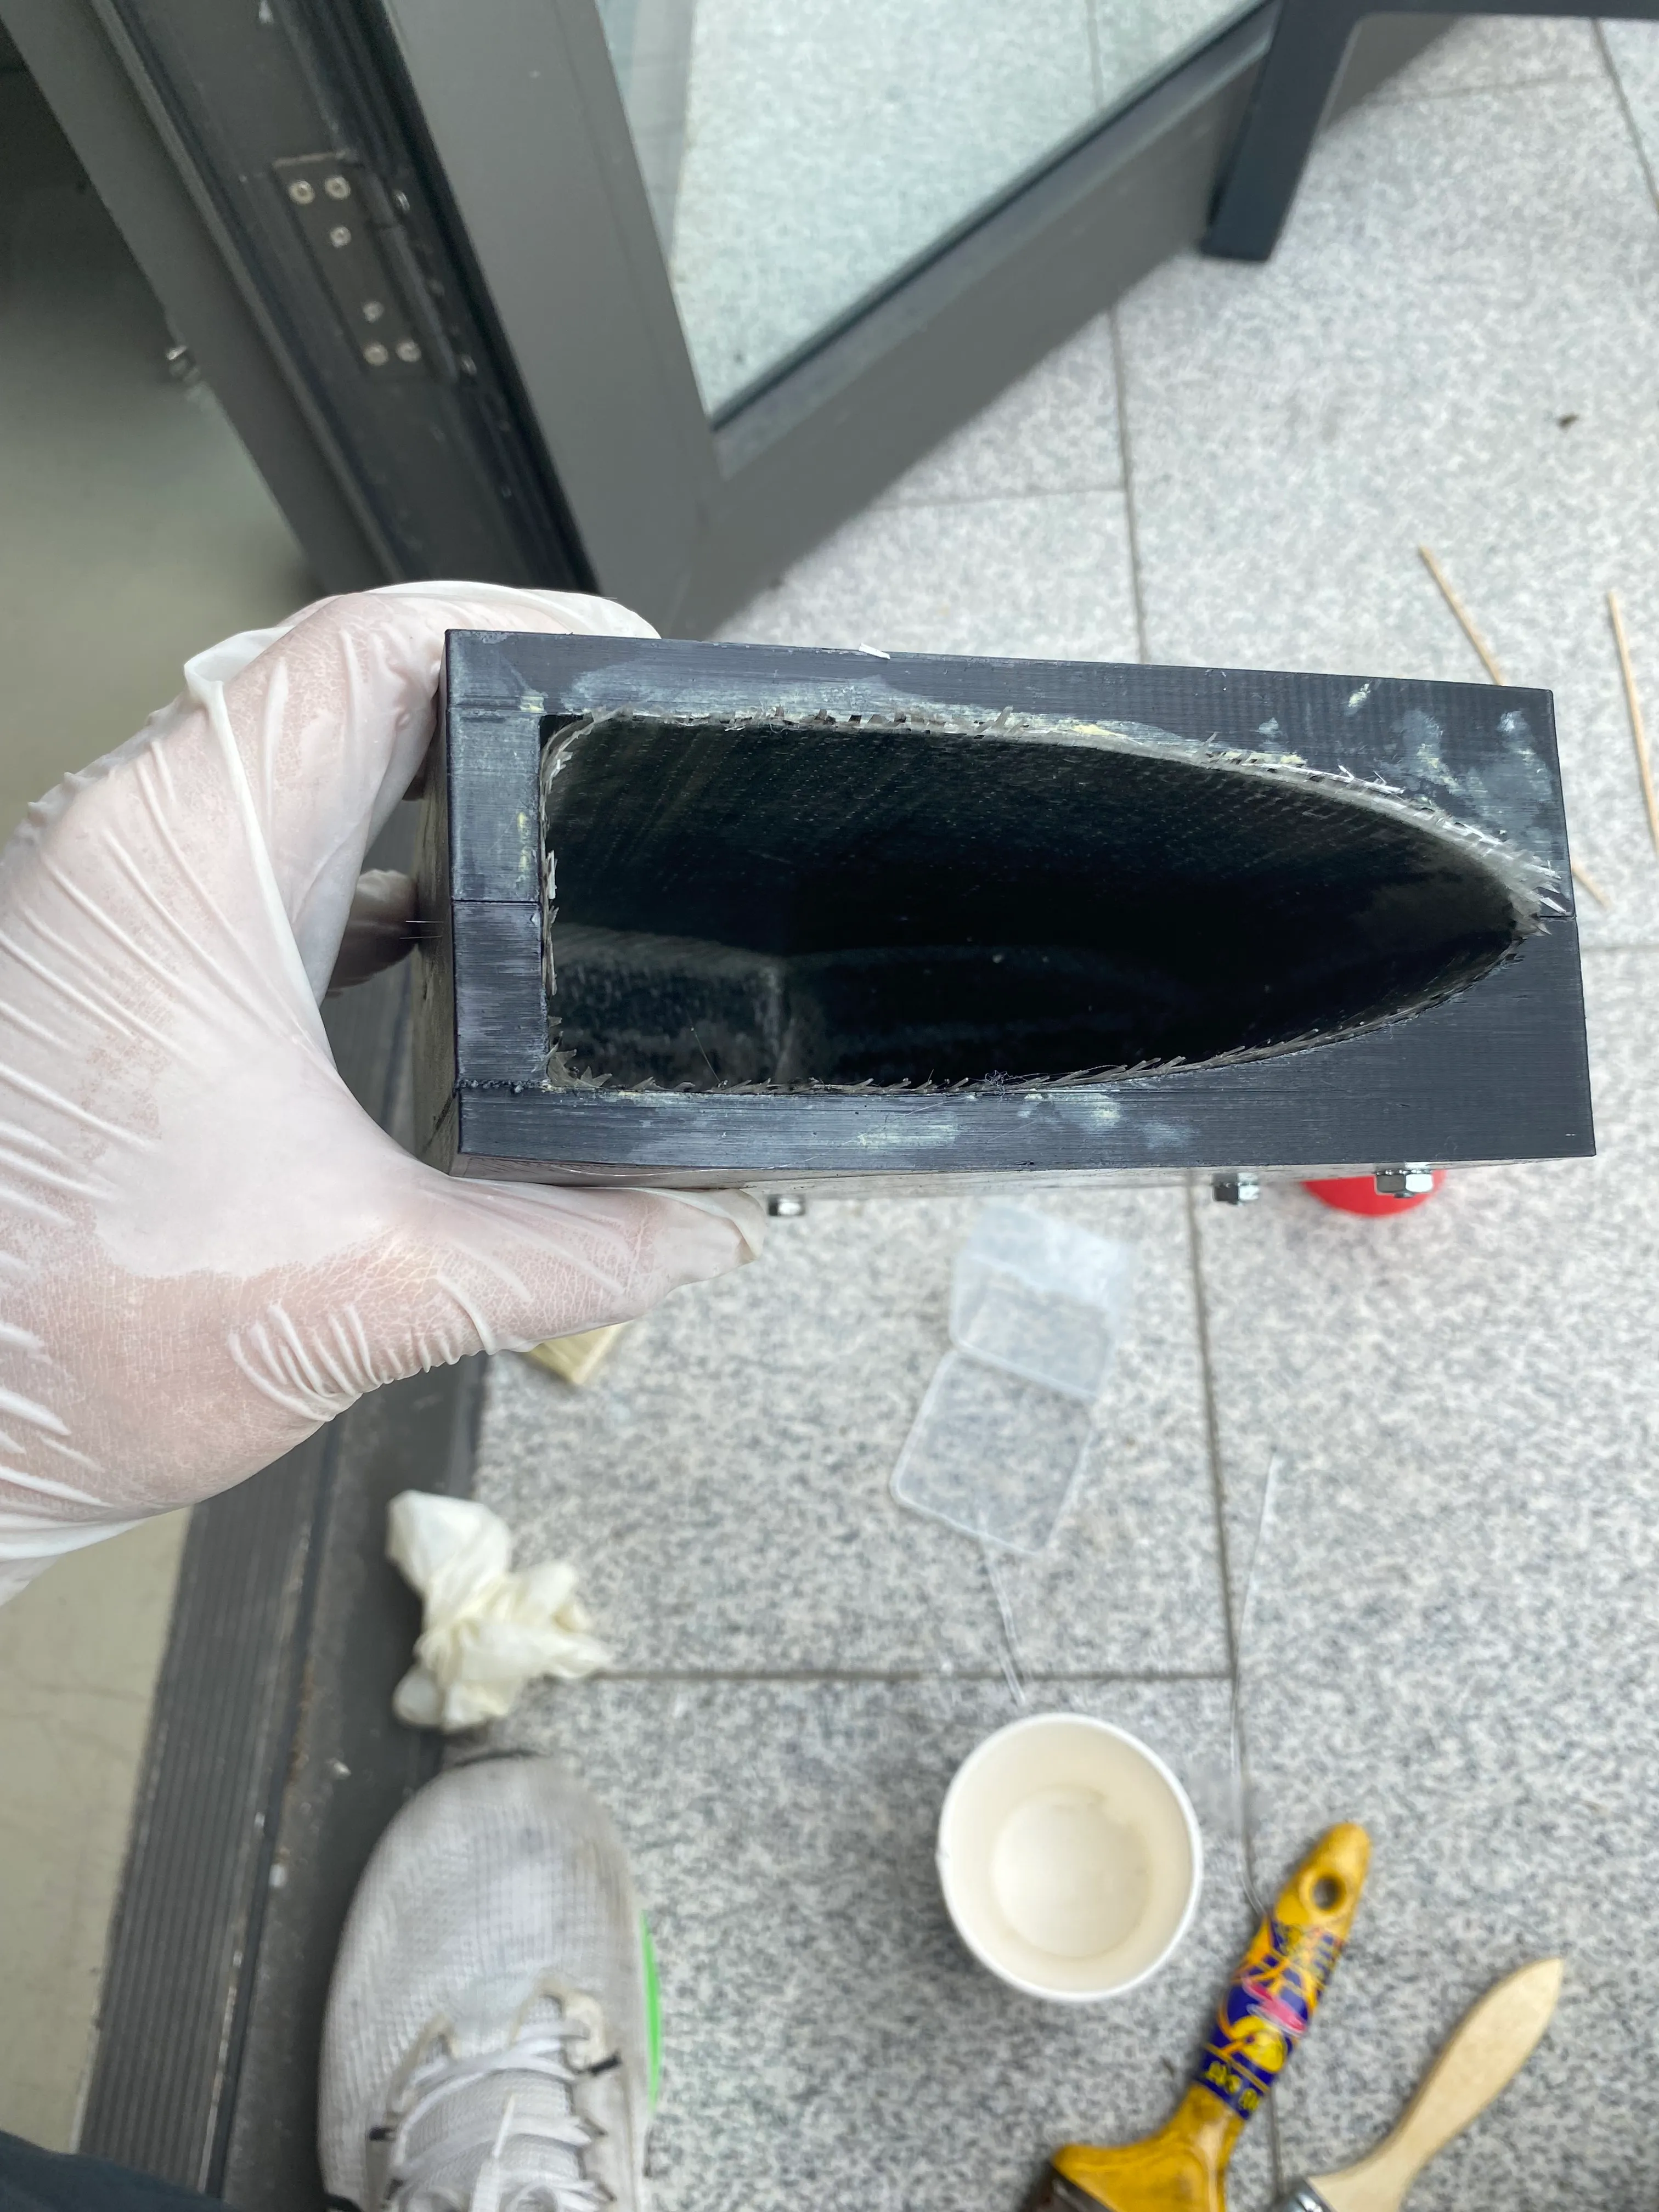
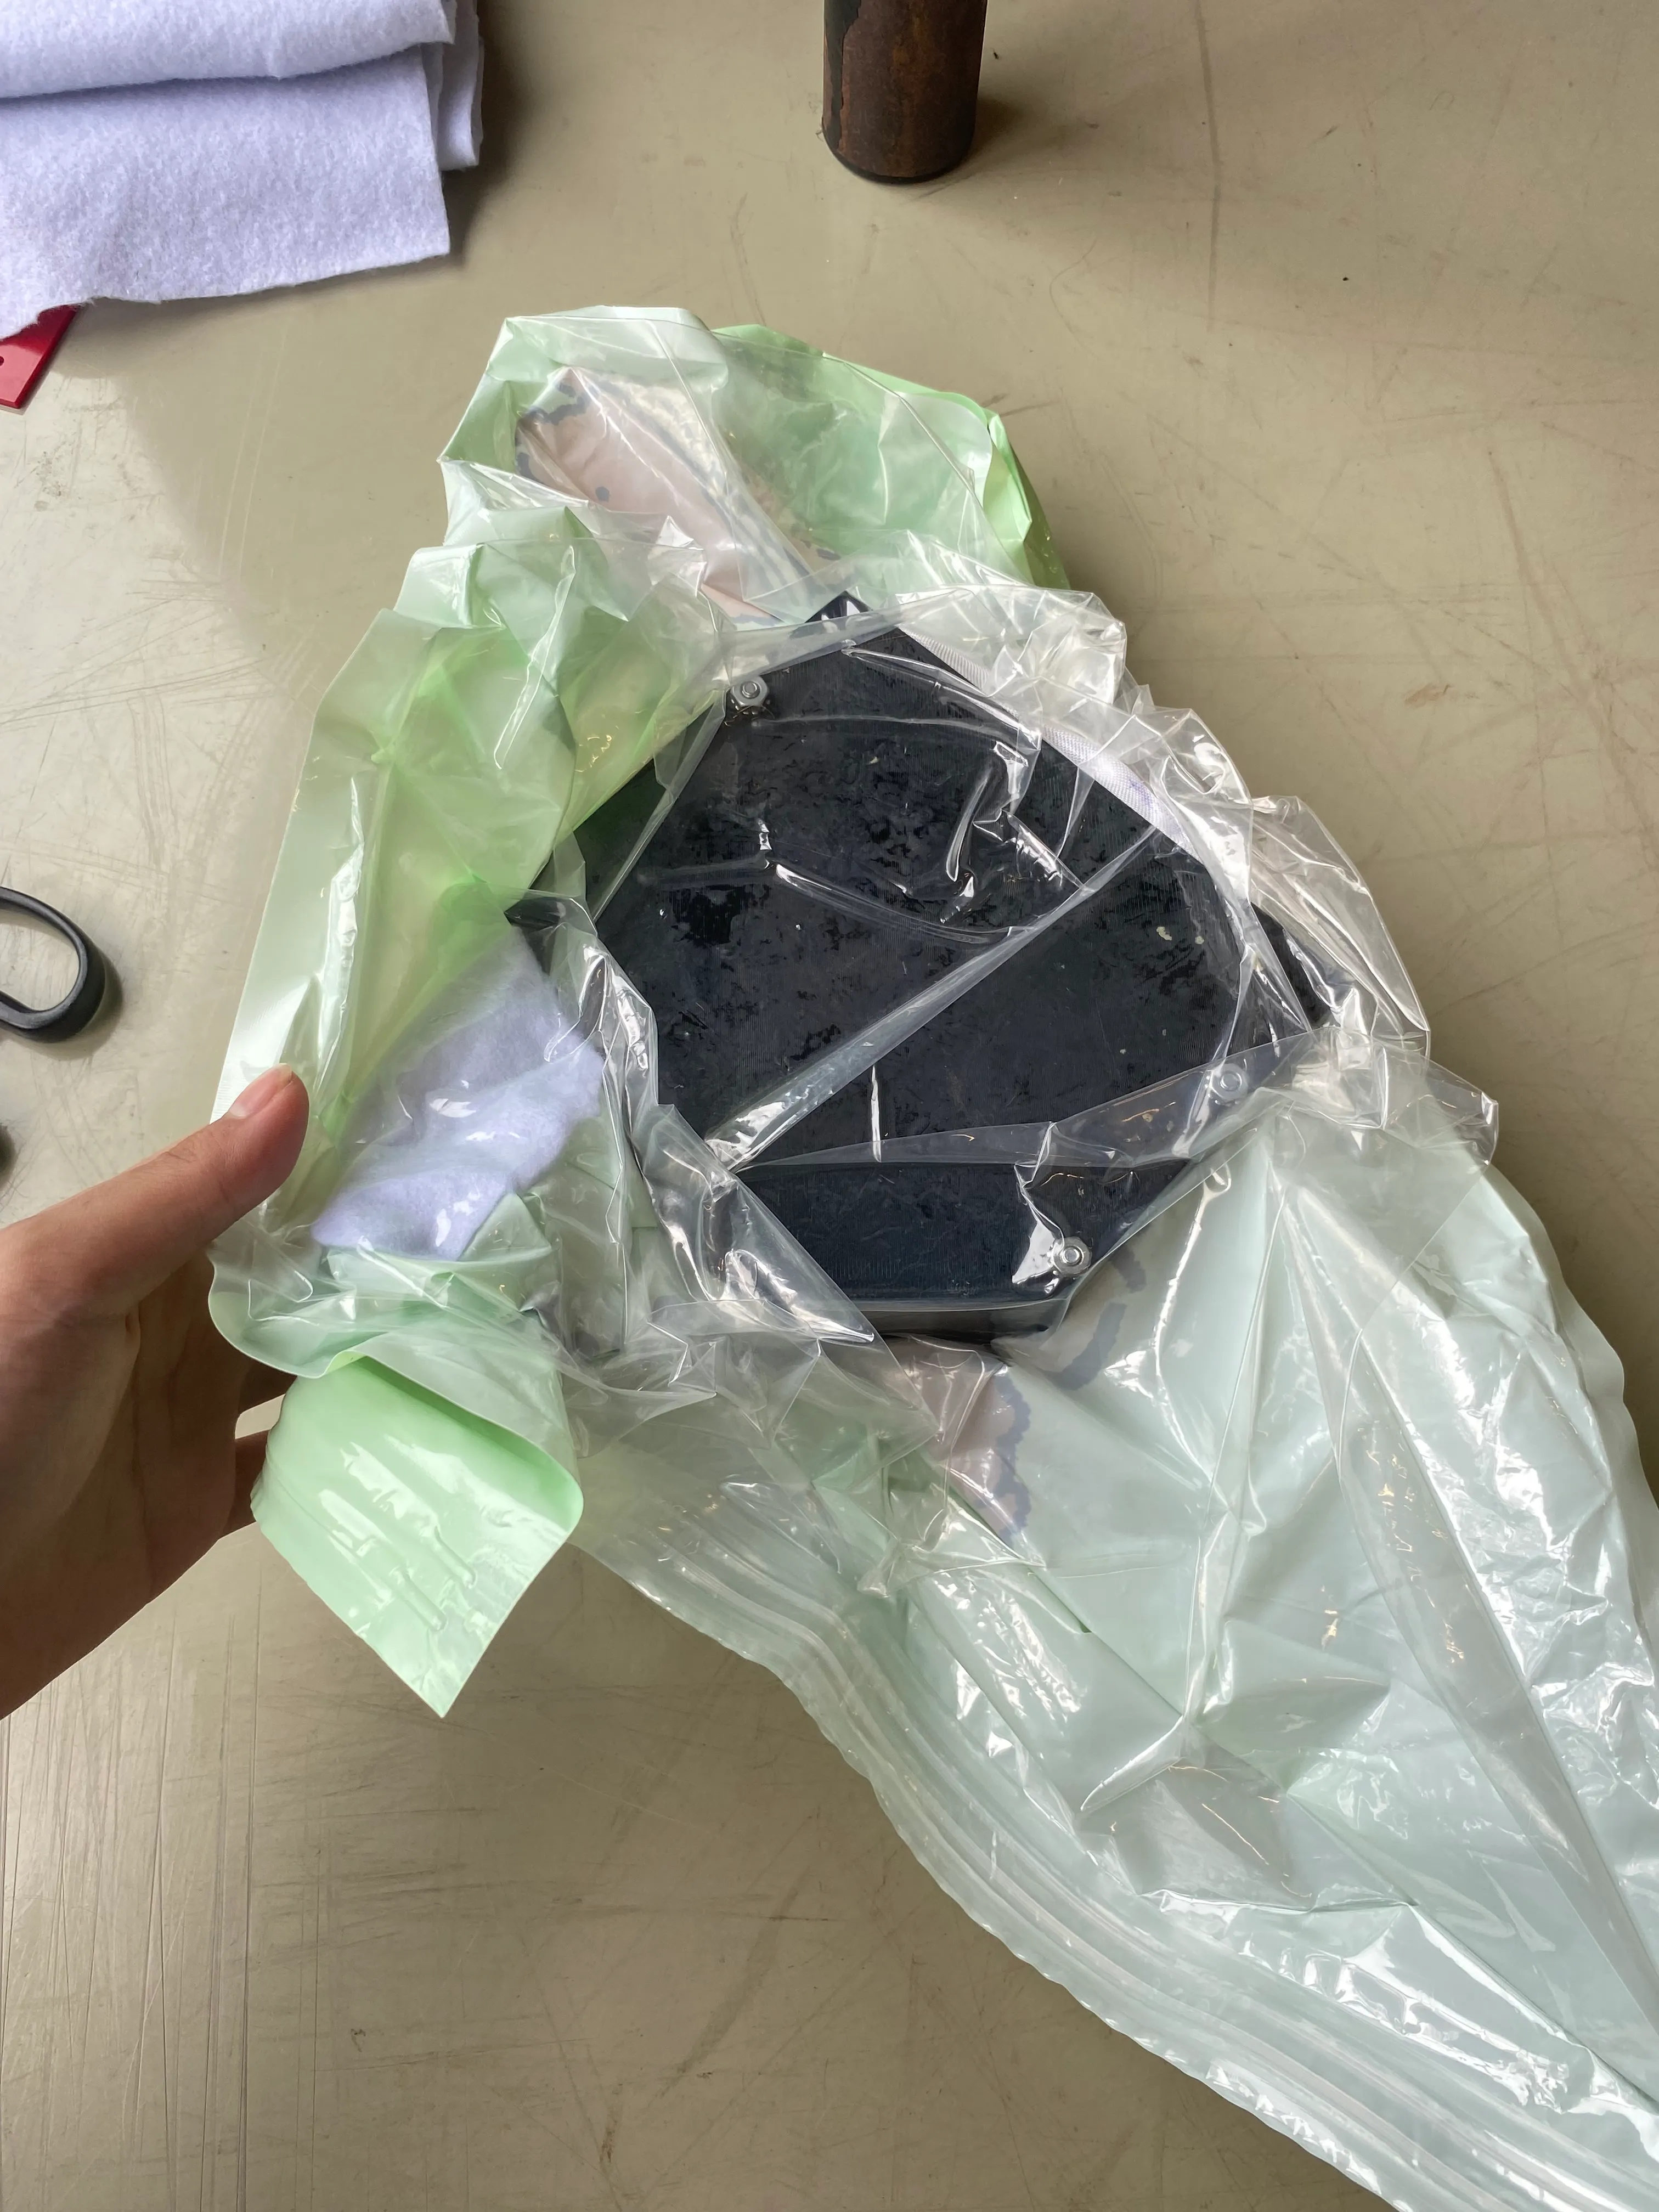
An issue I encountered was the clothing vacuum bag was too small so I had to join two bags together using VHB tape. As expected this bag did not hold the best seal and idealy I would find a bigger bag but I was on a time crunch so I had to deal with it. The pump couldn’t run for 24 hours as it would overheat so every couple hours I ran it for a bit.
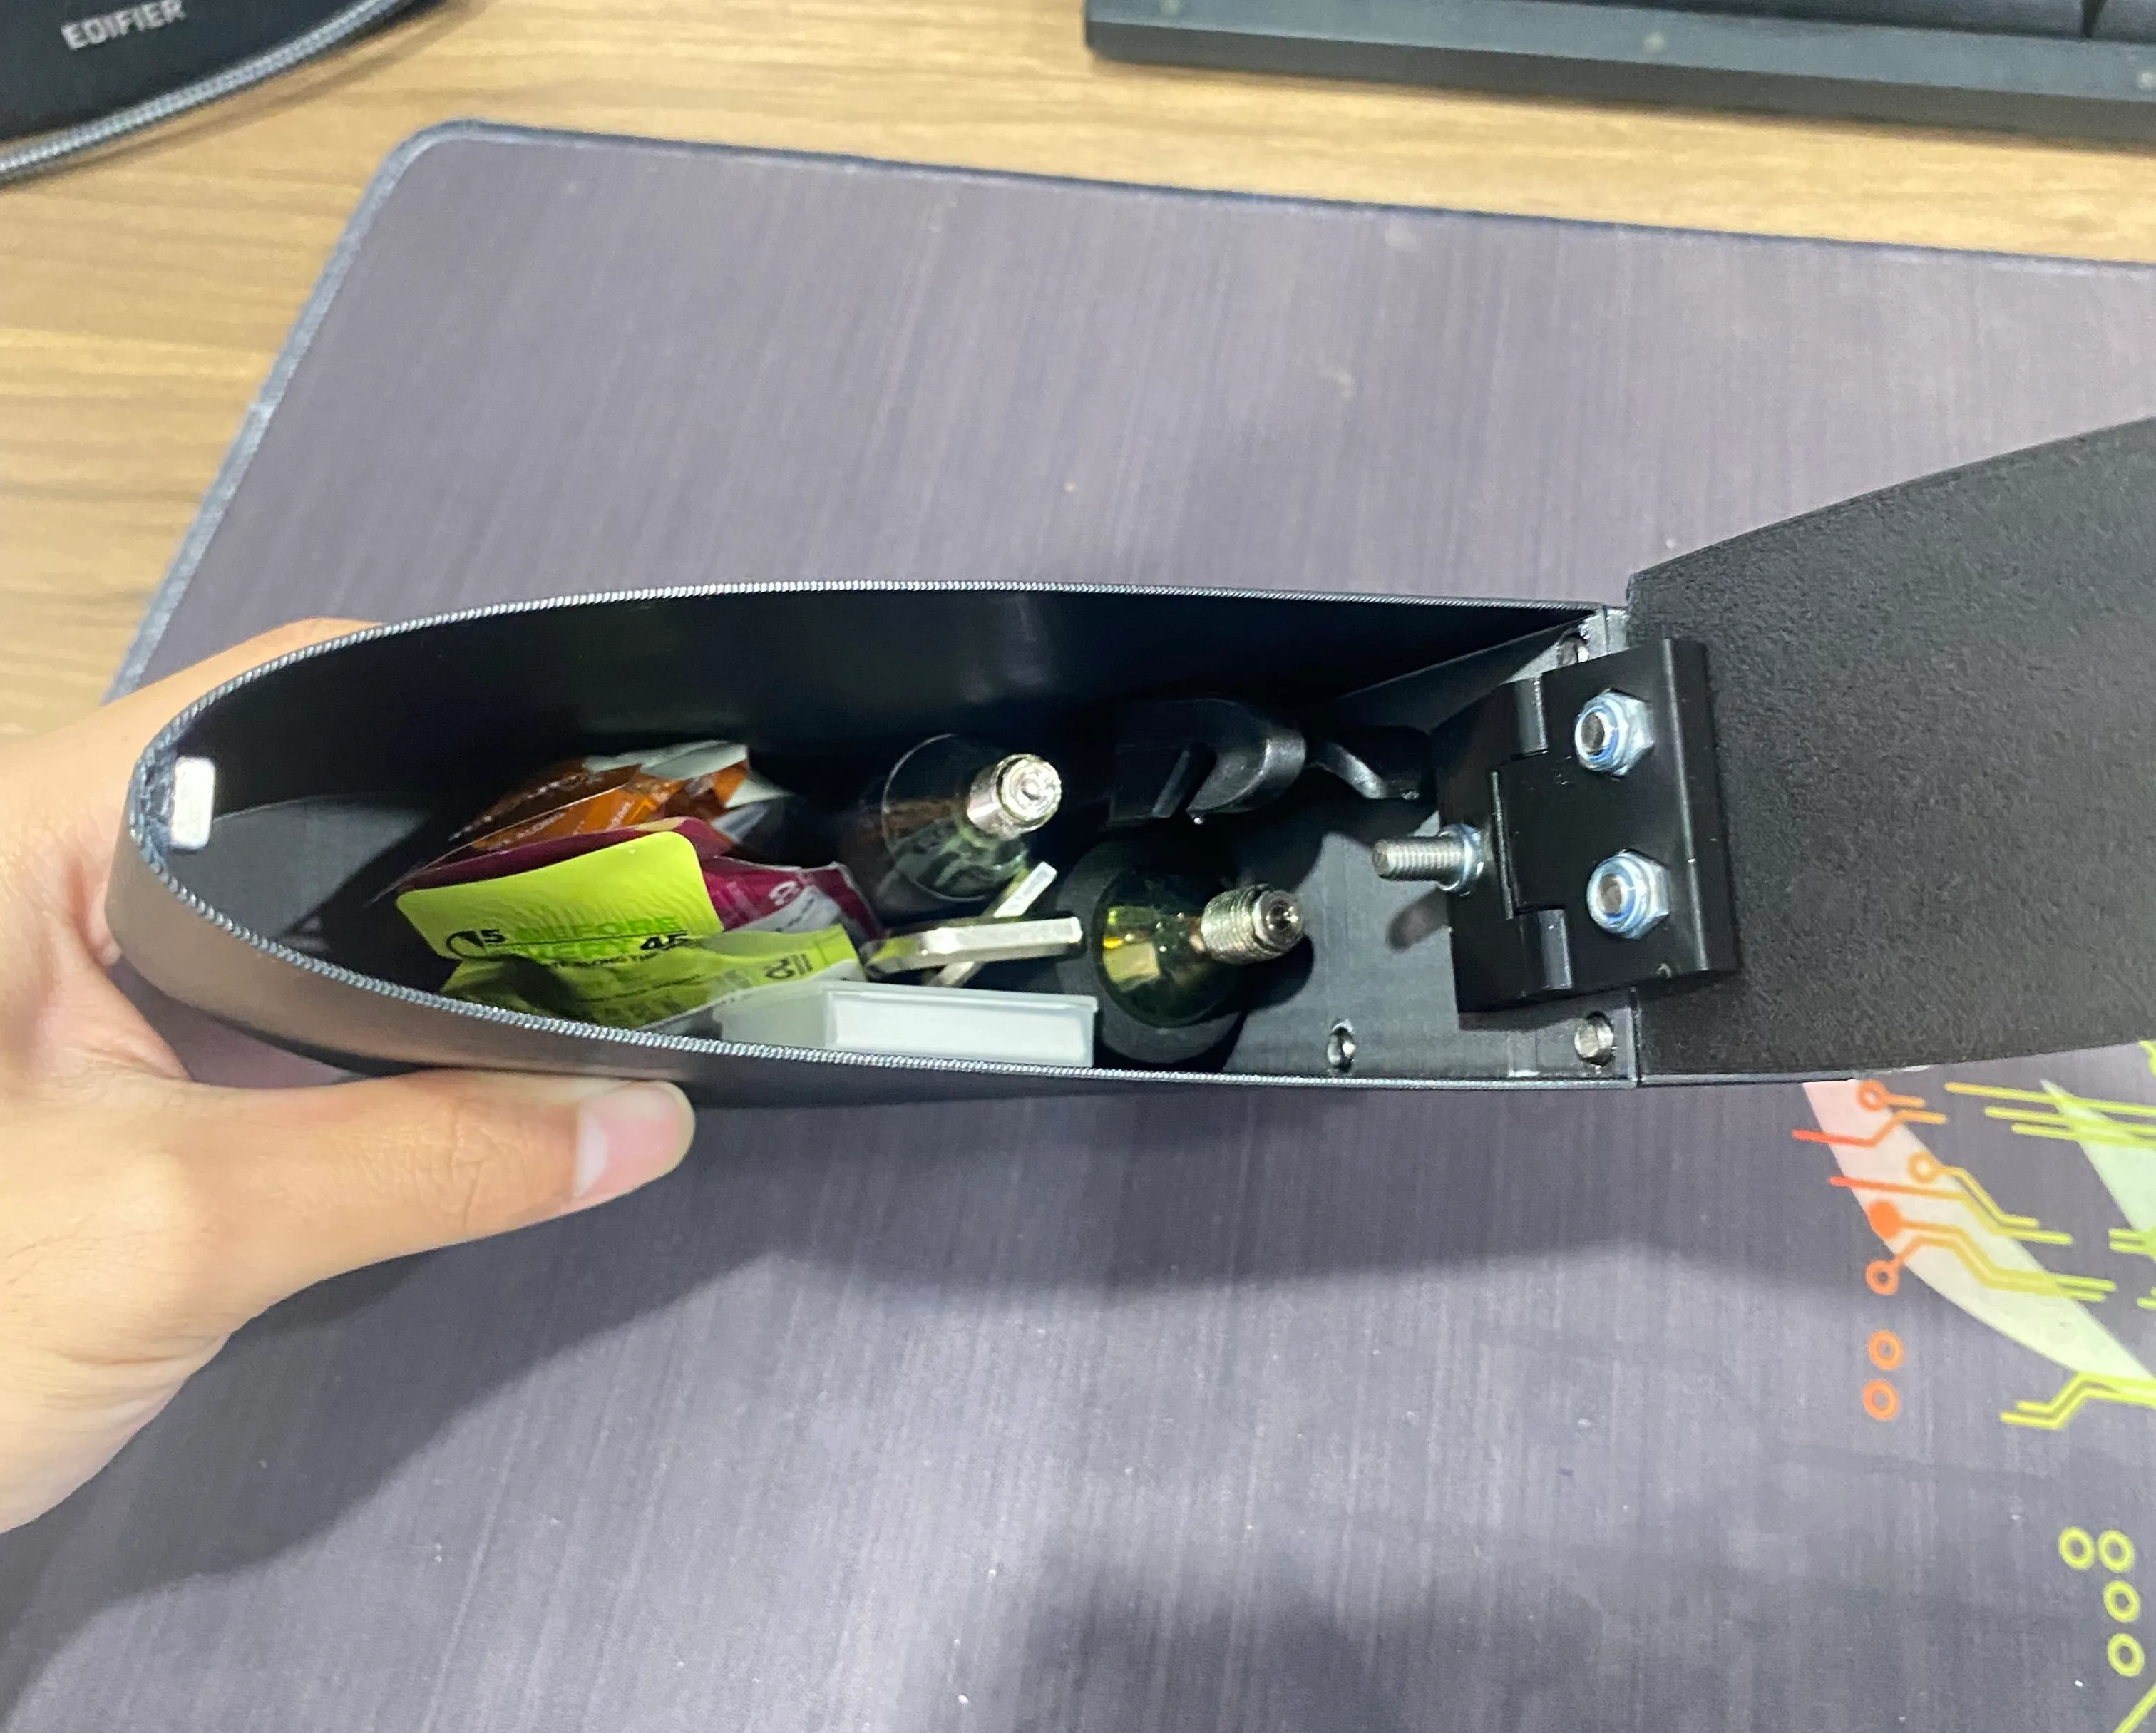
When opening the mould, the epoxy held the mould together very well so it was very hard to open. I ended up opening it forcefully. The result didn’t look great and had a lot of imperfection, mainly being discoloration and lack of resin. To the holes caused by lack of resign, I painted on an extra layer resin to make sure it was water proof. Then I spray painted the box white to hide the discoloration.

Reflection
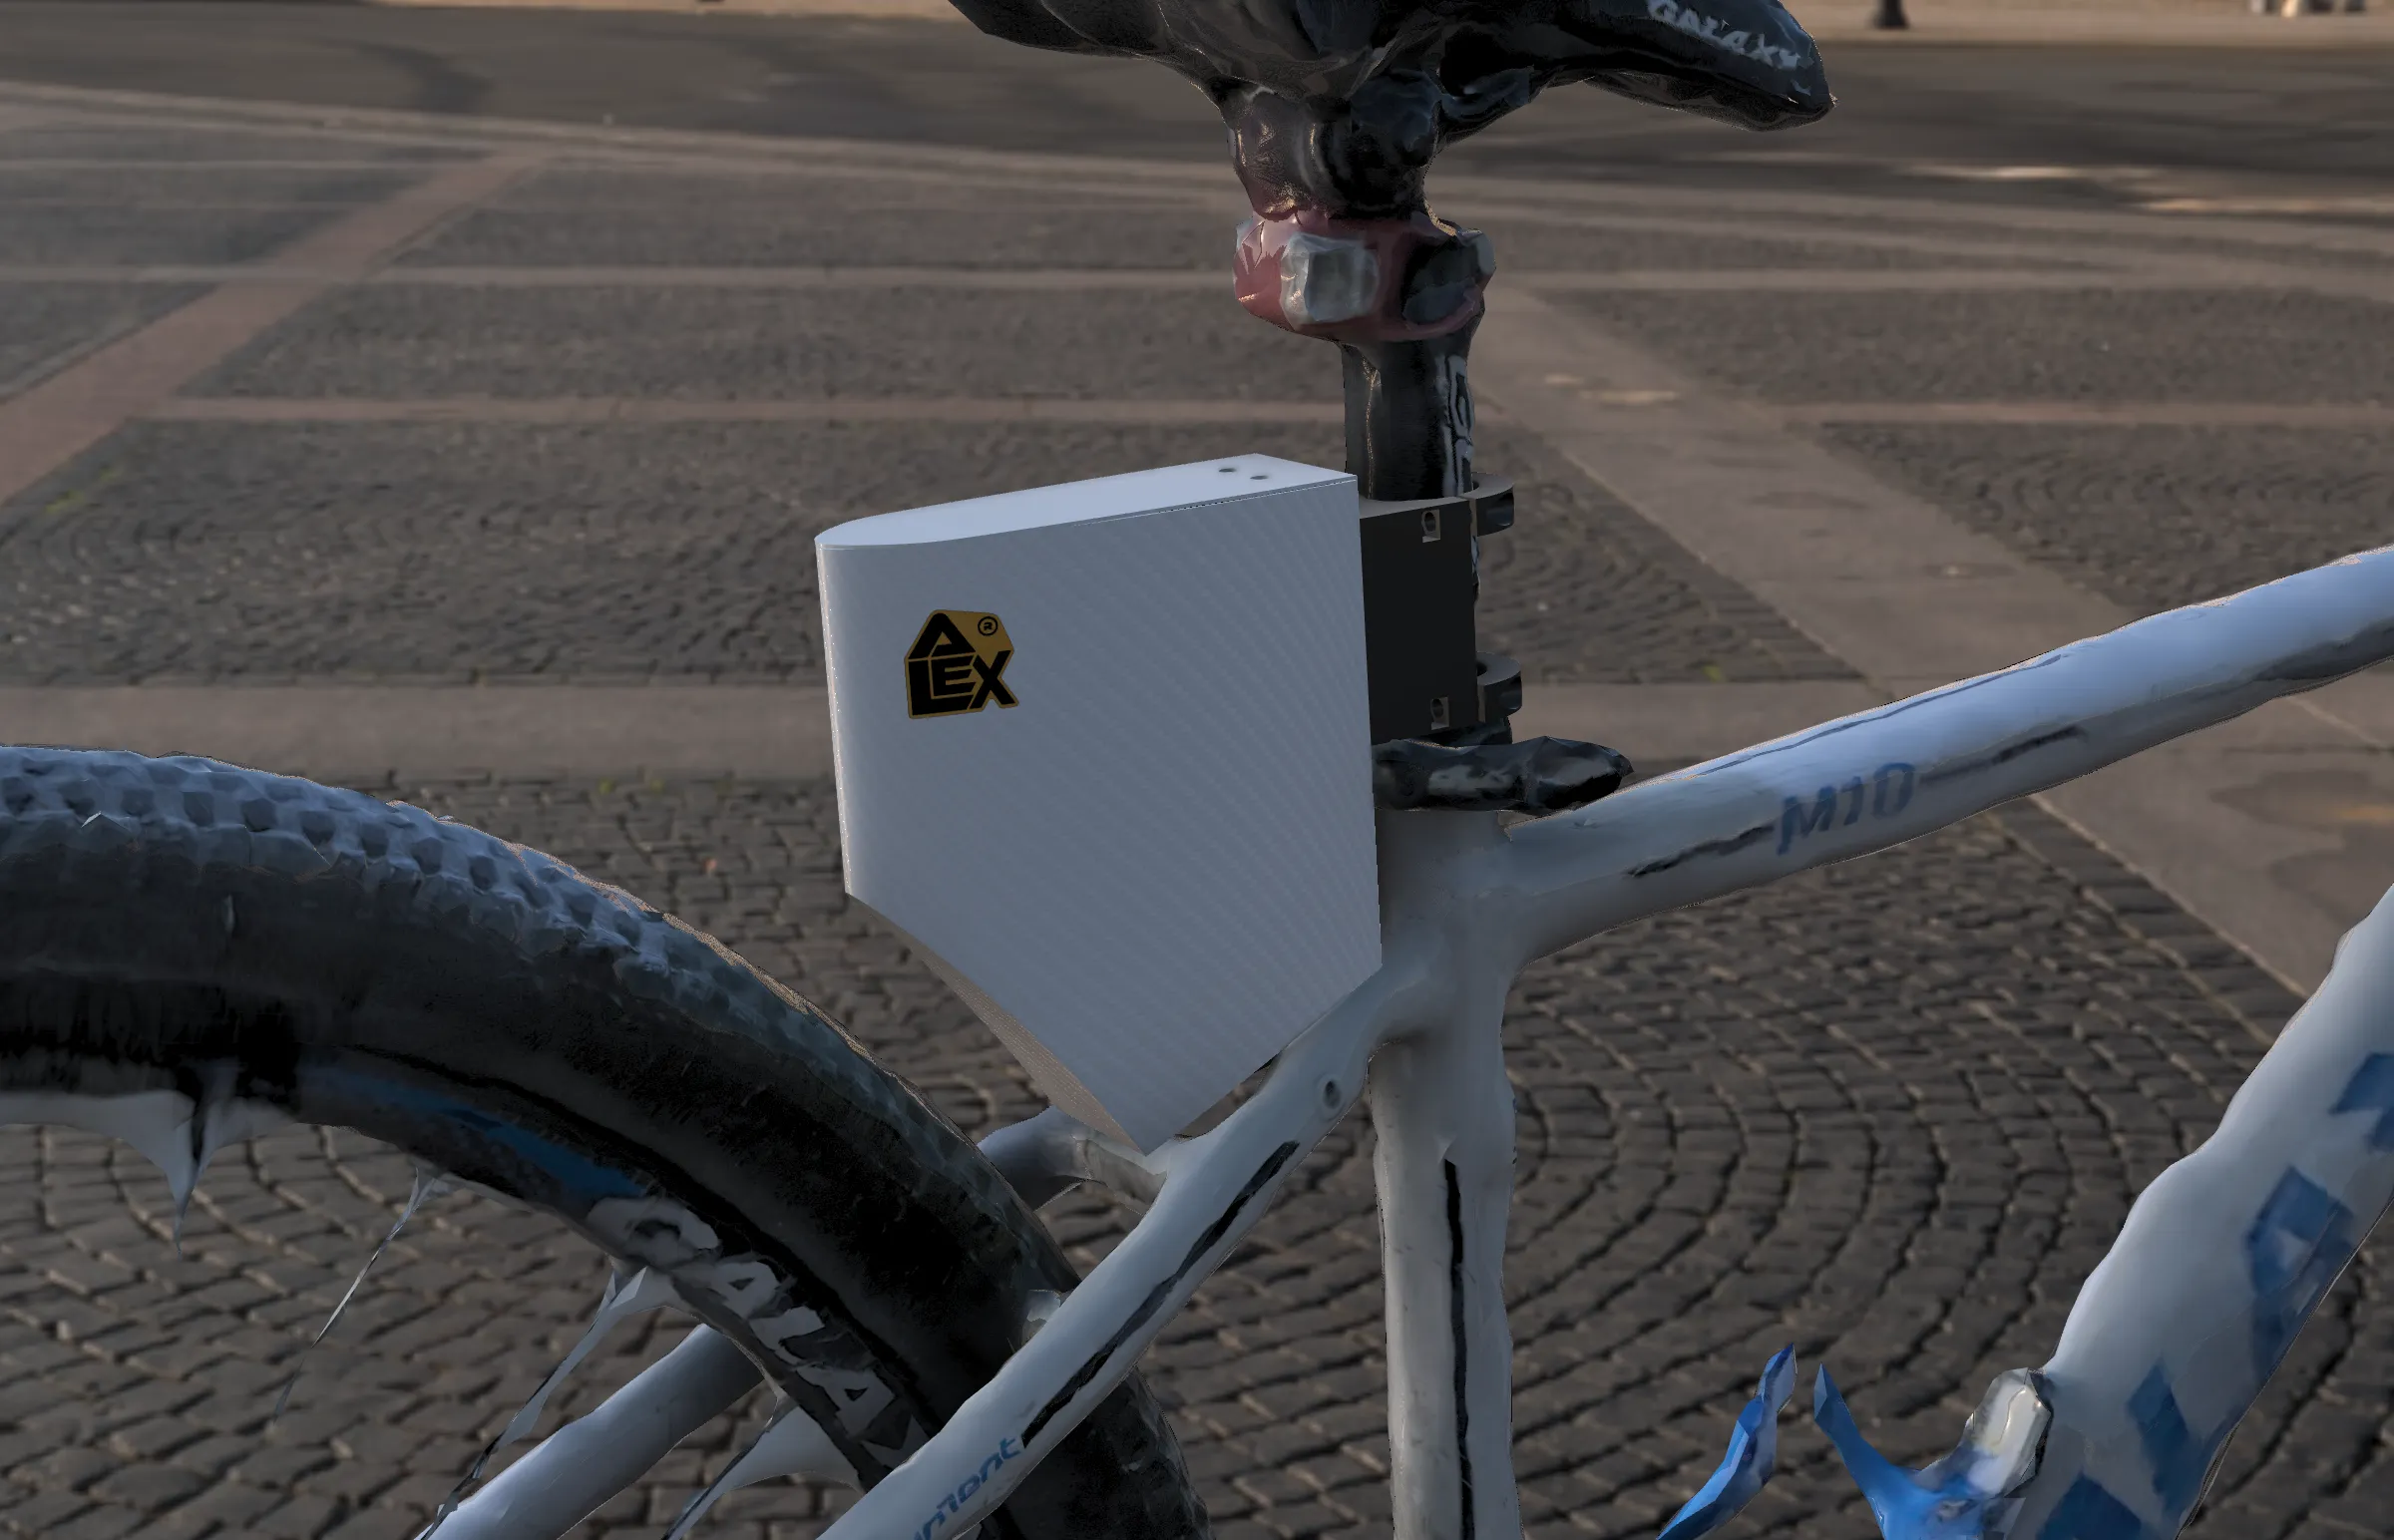
In the end I think the box looks worse than I wanted but it met all my requirements of being usable and I will use this for my cycling trips. If I did this again focusing on aesthetics, I would 3d print it in Nylon PA12 using a SLS printer as that would leave a better surface finish, or I would use prepreg composites however this would be more expensive. In the end, this project helped me learn a lot about how composites are made and the different manufacturing methods.